Many woodworkers ask how to create perfect mitre junctions. In this article, we will show you how to create them. Then, we'll show you how to get perfect 45 degree angles. Also, we'll discuss how to attach mitre joints already glued. Continue reading to learn more.
Gluing mitre joints
If you use these tips, gluing mitre joint joints is easy. Before gluing, you need to prepare the mitered corners. It is important to align your miter edges when gluing wood that will later fall apart. After you have assembled your mitre joint you can apply wood glue to the mitred edges. Use a damp cloth to wipe off excess adhesive.

Closing a miter Gap
There are many options for closing a miter gap during woodworking projects. You can close the gap by using a round object, such as a screwdriver shank and nail-set cone. To give your paint a toothy look, you can also use sandpaper. A knife can be used to force the filler into any gap if the budget doesn't allow for a rounded tool.
Hidden spline creation
To create mitre joints that match the edges of your mitered face, a hidden spiral is an excellent way to make them. Cut a slot in the heel area of the mitered faces to create this. The slot should be approximately half to two thirds the thickness of the workpiece. This will increase the length of your spline. It's also important to remember that you should plane the spline stock before inserting it into the mitre joint.
Perfect 45-degree angles
It is easy to achieve perfect 45-degree angles at miter joints. However, it can be difficult when pieces are not perfectly 90 degrees. There are two reasons this might happen. The first reason is that the pieces could be too long. The second is that the blade may not be perpendicular to the cut surface. This creates compound angles. It is essential to accurately scribe angles in either case.

DOMINO wood-joining system
Domino wood jointing systems are great for miter joints. This jointing device has the same qualities as a biscuit dowel but is round. It is strong enough for holding the pieces in their place. The system can also be easily cut and bent to your exact dimensions. In a short time, you can make mitered panel joints using the DOMINO wood jointing system.
FAQ
How often should I purchase new supplies?
You will likely need to replace some tools over time. You'll need to sharpen your hand tools regularly if you use them. For power tools, replacement parts will be required frequently. Spread your purchases over several months to avoid purchasing too many items at once.
What is the difference in a hobbyist and professional woodworker?
Hobbyists love making things from wood while professionals are more concerned with the quality of their work. Hobbyists usually take pride in their creations and often share them with friends and family. Professionals spend hours researching design ideas before starting to work on a project. Professionals will be meticulous about all aspects of their work, from selecting the right materials to finishing it.
Are there any other things I should know regarding woodworking?
It's easy to underestimate the amount of work involved in making furniture. Finding the right kind of wood is the most difficult part. There are so many varieties of wood available that choosing one can be difficult.
A problem is that wood doesn't have the same properties. Some woods will warp over time, others will split or crack. These things should be considered before you buy wood.
Statistics
- In 2014, there were just over 237,000 jobs for all woodworkers, with other wood product manufacturing employing 23 percent; wood kitchen cabinets and countertop manufacturing employing 21 percent. (theartcareerproject.com)
- The U.S. Bureau of Labor Statistics (BLS) estimates that the number of jobs for woodworkers will decline by 4% between 2019 and 2029. (indeed.com)
- Average lumber prices rose about 600 percent between April 2020 and May 2021. (familyhandyman.com)
- Most woodworkers agree that lumber moisture needs to be under 10% for building furniture. (woodandshop.com)
External Links
How To
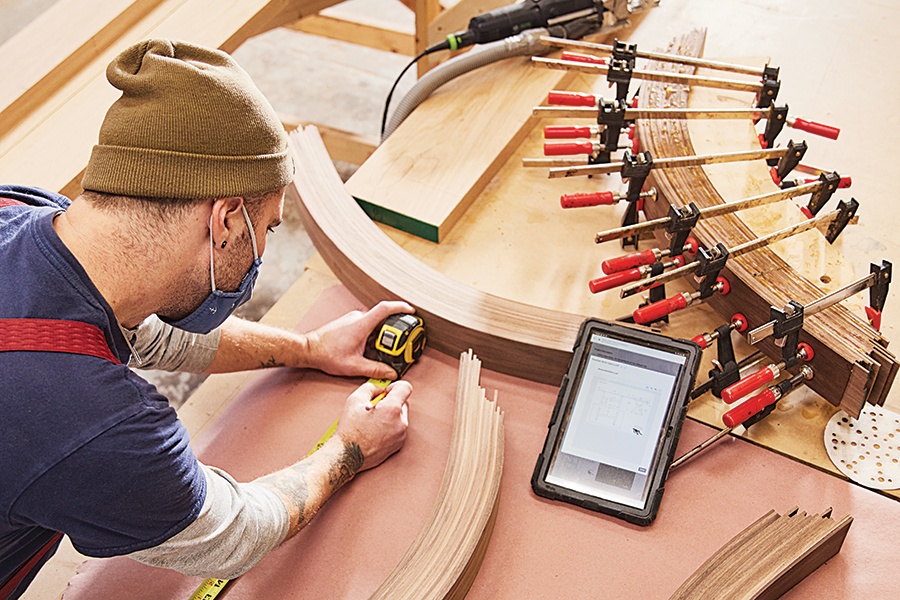
How can you accurately measure wood?
We use several methods to measure wood. We use a digital scale (a tool for measuring distances), a laser-level (used to level your work surface), as well as a bubble level (used in order to level your work surface).
A digital caliper has two jaws that open and close. One jaw holds a measured object and the other measures distances between the points. The digital caliper can be used to measure small distances such as the thickness of wood.
Laser levels feature an infrared-light beam that projects lines across the floor. The laser emits a red dot along the line. The line can be viewed down to determine if the surface has an even surface. Large surfaces can be checked for accuracy with laser levels.
Bubble levels look similar to a compass. The device has a bubble at its center. As long as the bubble remains centered, the device can tell you if the surface has been leveled. Bubble levels are great for checking the accuracy and precision of smaller areas.