
There are many options available if you're looking to buy a cheap stick whistle. Glow is one of the options. It can be used as a walking stick. They are very loud, and made from a non-toxic substance. The sticks themselves are also great because they can be thrown in a backpack, or used as a walking stick. You can also make your stick whistle yourself with these tips.
Glow stick whistles can be used as a non-toxic alternative.
You can avoid harmful chemicals by purchasing non-toxic brands. Some glow products use dibutyl phthalate, while others use a glass vial containing a mixture of hydrogen peroxide in a phthalic ester and phenyl oxalate. The glass will glow when it breaks down because the chemicals in the glass are reacting with one another. This chemical is also used in glues, leather, inks, and dyes.
They are carved directly into walking sticks
There are many kinds of walking sticks that you can buy, but these are the most common. Some are decorated with unique or fun items, such a stick whistle. These can be passed down through generations, as they will have great sentimental value. Others, like those for grandfathers and others, are functional and decorative.
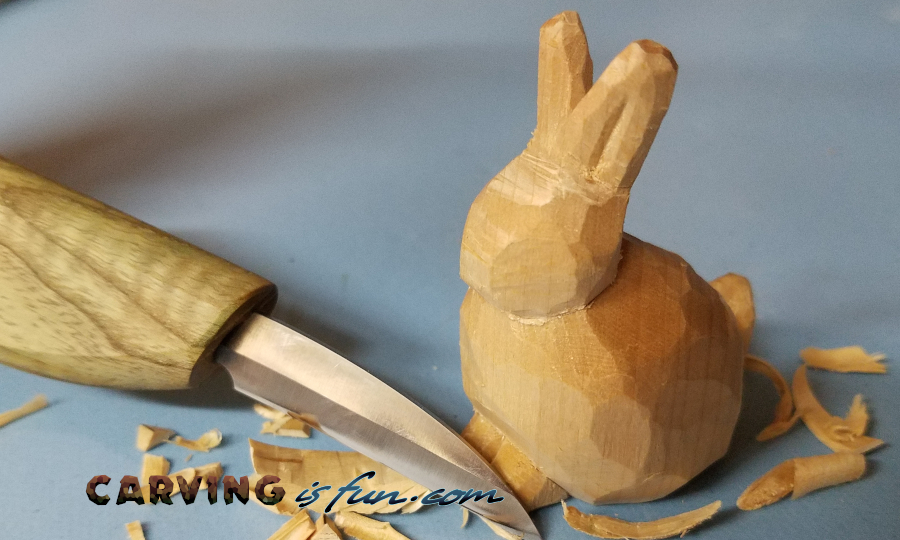
The first step to making a walking stick whistle is to carve a piece of bark from the walking stick. This will leave a hollow area that will serve as the mouthpiece. Next, we will cut a 45° bevel into our walking stick. This will provide a smooth surface that will house the whistle's microphone, while a 90-degree edge acts as the airflow notch.
They are loud
You can make your own stick-whistle at home using a few simple tools. First, cut a straight-cut sycamore branch into the desired length and thickness. The louder the whistle is, the deeper you cut it. To loosen the bark from the wood, tap it several times and then slide it into your hole. A straight-cut Sycamore branch should measure at least six inches in length. You should cut the branch as close the ground as you can.
Different shapes of sticks produce different sounds. While a stick whistle looks like a football, the shape is very similar to that of a referee's whistle during a football game or an NBA game. Most whistles have a small, rattle-like ball or pea inside. The whistler can control how long and intense the blow is by holding the pea or small ball in their mouths, then blowing into it.
They are non-toxic
Purchase a light-up flashlight stick to ensure children's toys are safe. A weatherproof stick is a double-duty whistle that can also serve as a safety device in severe weather conditions. These weather-proof lights come in a variety colors and can be bought in packs of 2. A non-toxic and weather-proof lightstick, which is available in a variety colors, is an excellent choice. This makes it a versatile tool to use in emergency situations.
They are easy and quick to make
Make a stick whistle by taking a piece from thin wood and slicing off the bark. Then, angle the end of your wood at 45 degrees. This will make a mouthpiece to hold your whistle. Next, you need to whittle down the remaining wood. Once you have enough wood whittled, you can begin blowing. If you succeed, you will have a clear and ringing whistle. Your homemade whistle can be stored in a ziptop bag or a glass filled with water.

A stick whistle is made from hardwood. I prefer 5/8" doweling but 9/16" is better. You will also need two parts of epoxy resin, which dries to the consistency of honey. It is possible to use U.S. 1/2" copper pipe. You can also make a wooden snare with a hammer & chisel.
FAQ
What types of woods are best for furniture making?
Woods can be classified according to how hard they are. Softwoods include cedar and pine as well as cedar and cedar. They are great for outdoor furniture as they resist rot. The hardwoods are oak, maple and mahogany. They are generally indoors as they don't weather well outside.
What tools should you start with to become a woodworker
Woodworking is an art that takes patience and practice. Learning how to use the various tools and techniques necessary for woodworking takes patience.
There are many different types of woodworking equipment available on the market today. Some prefer to use power tools, while others prefer to use hand tools.
The choice is yours, but you must ensure you choose the right tool for the job. You might start with a simple set of tools if you don't have much experience.
Another option is to learn how to use a router, which is used for cutting intricate shapes into wood. These are available at most hardware stores.
How often should I buy new supplies?
Some tools will need to be replaced over time. If you are using hand tools, you will need to sharpen them frequently. Power tools will require replacement parts every so often. To avoid buying too much at once, try to spread your purchases out over a few months.
Which wooden products are most popular?
Most wooden items that are best-sellers are made from wood harvested sustainably.
Oak, cherry and mahogany are the most sought-after wood types for furniture.
These woods have beautiful grain patterns and colors. They are also very strong. They will last for many years, if taken care of properly.
To protect wood furniture from moisture damage, it should be painted first. This covers all surfaces, drawers included, as well as doors and handles.
If you want to make sure that your furniture lasts as long as possible, then you should choose a paint that is resistant to water.
Use a high-quality, oil-based primer and two coats of topcoat. Depending on how often it will be worn, you may need to apply several coats.
Avoid spray cans or aerosol colors. These products contain solvents that evaporate quickly and leave behind harmful fumes.
What type of wood should I choose?
The most commonly used woods for woodworking are oak, maple, cherry. Every type of wood is different and can have a unique look and feel that will affect the final product. Oak, for instance, is darker and harder than most other woods. Birch is lightweight and soft while mahogany is heavier and denser. You also have the option of solid wood or veneers. Veneers can be described as thin sheets of wood that have been glued together in one layer.
How do you know which tools are the best for you?
When shopping for tools, it helps to think about your needs and preferences. Do you prefer metal or plastic handles What size nails and screws do you usually use? Do you prefer hand tools over power tools?
Statistics
- Average lumber prices rose about 600 percent between April 2020 and May 2021. (familyhandyman.com)
- Overall employment of woodworkers is projected to grow 8 percent from 2020 to 2030, about as fast as the average for all occupations. (bls.gov)
- If your lumber isn't as dry as you would like when you purchase it (over 22% in Glen Huey's opinion…probably over 10-15% in my opinion), then it's a good idea to let it acclimate to your workshop for a couple of weeks. (woodandshop.com)
- The U.S. Bureau of Labor Statistics (BLS) estimates that the number of jobs for woodworkers will decline by 4% between 2019 and 2029. (indeed.com)
External Links
How To
How to make wood joint
This tutorial will teach you how to join two pieces wood together. We will use the "pockethole joint," which means that we drill holes in the wooden pieces and then glue them together. This method is great if your wood's straight and smooth. You may want to consider other methods, such as dowel joining. These are the steps
-
Drill Pocket Hole Joints. Start by measuring and marking the spot where the pocket hole joint will be placed. Then drill 3/4 inch deep holes into the ends of each piece of wood using a jig saw or handheld drilling machine.
-
Sand Smooth. Sanding the wood's edges will help ensure that the joint won't split later.
-
Glue the two sides of the wood together. Apply glue to both ends of the wood. Allow it to sit for approximately 5 minutes before you clamp the pieces together.
-
Attach the Pieces together. After the glue has dried thoroughly, secure the pieces so that they are flush.
-
Trim Joinery. Trimming the joinery after glue has completely dried.
Be sure to leave enough space between each piece so that they can be turned inside-out.